
Information presented on this web page is intended for informational and educational purposes only and is not meant to be taken as legal, financial, investment or tax advice. We do not accept any responsibility for any trading or investment related losses. Please review our disclaimer on before taking action based upon anything you read or see.
Introduction
In the digital age, writing a check might seem like a lost art. However, it’s still a vital skill in many situations. This guide will walk you through the process step by step.
What is a Check?
A check is a document that orders a bank to pay a specific amount of money from the account of the person or entity who has issued the check, also known as the drawer, to another person or entity, known as the payee.
Why Write a Check?
Despite the rise of digital payments, checks are still widely used in certain situations. They can be useful for paying rent, sending money to family members, or making donations to charities.
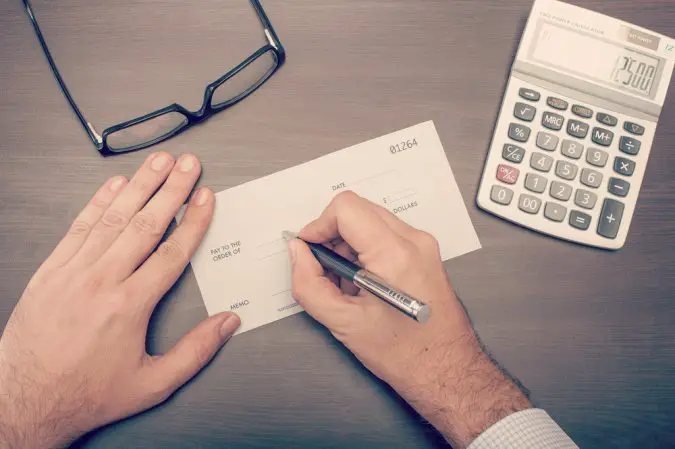
How to Write a Check: Step-by-Step Guide
Step 1: Date the Check
Write the current date on the line at the top right-hand corner of the check.
Step 2: Name the Recipient
On the “Pay to the Order of” line, write the name of the person or organization you’re paying.
Step 3: Write the Amount in Numbers
In the box on the right-hand side, write the amount of money you want to pay in numbers.
Step 4: Write the Amount in Words
On the line below “Pay to the Order of,” write out the same amount in words.
Step 5: Fill Out the Memo Line (Optional)
The memo line at the bottom left is optional but can be used to note what the payment is for.
Step 6: Sign Your Check
Sign your name on the line at the bottom right-hand corner. This is crucial—without your signature, your check won’t be valid.
Conclusion
Writing a check might seem old-fashioned, but it’s a skill that can come in handy. With this guide, you’ll be able to fill out a check confidently and correctly.


